A uniform order can look simple on paper: choose shirts, add a logo, place the order. In practice, the details determine whether your team receives polished, durable apparel or a box of garments that do not fit, match, or represent your business well. Knowing how to order embroidered uniforms helps you avoid costly reorders and gives employees clothing they will be comfortable wearing every day.
For businesses, schools, healthcare practices, restaurants, and public agencies, embroidered uniforms are more than apparel. They create a consistent first impression, make staff easier to identify, and keep your brand visible wherever your team works. The best results come from making a few clear decisions before production begins.
Start With the Job the Uniform Needs to Do
Before selecting colors or styles, consider where and how the garments will be worn. A front-office team may need polished polos, button-downs, or cardigans. A landscaping crew may need breathable work shirts, durable outerwear, and high-visibility options. Medical staff may need scrub tops and jackets that meet workplace dress standards while holding up to frequent washing.
The environment matters. Southwest Florida heat and humidity often make moisture-wicking polos, lightweight performance fabrics, and breathable workwear practical choices. For indoor or customer-facing teams, appearance may carry more weight than ruggedness. For field crews, both garment durability and ease of movement deserve priority.
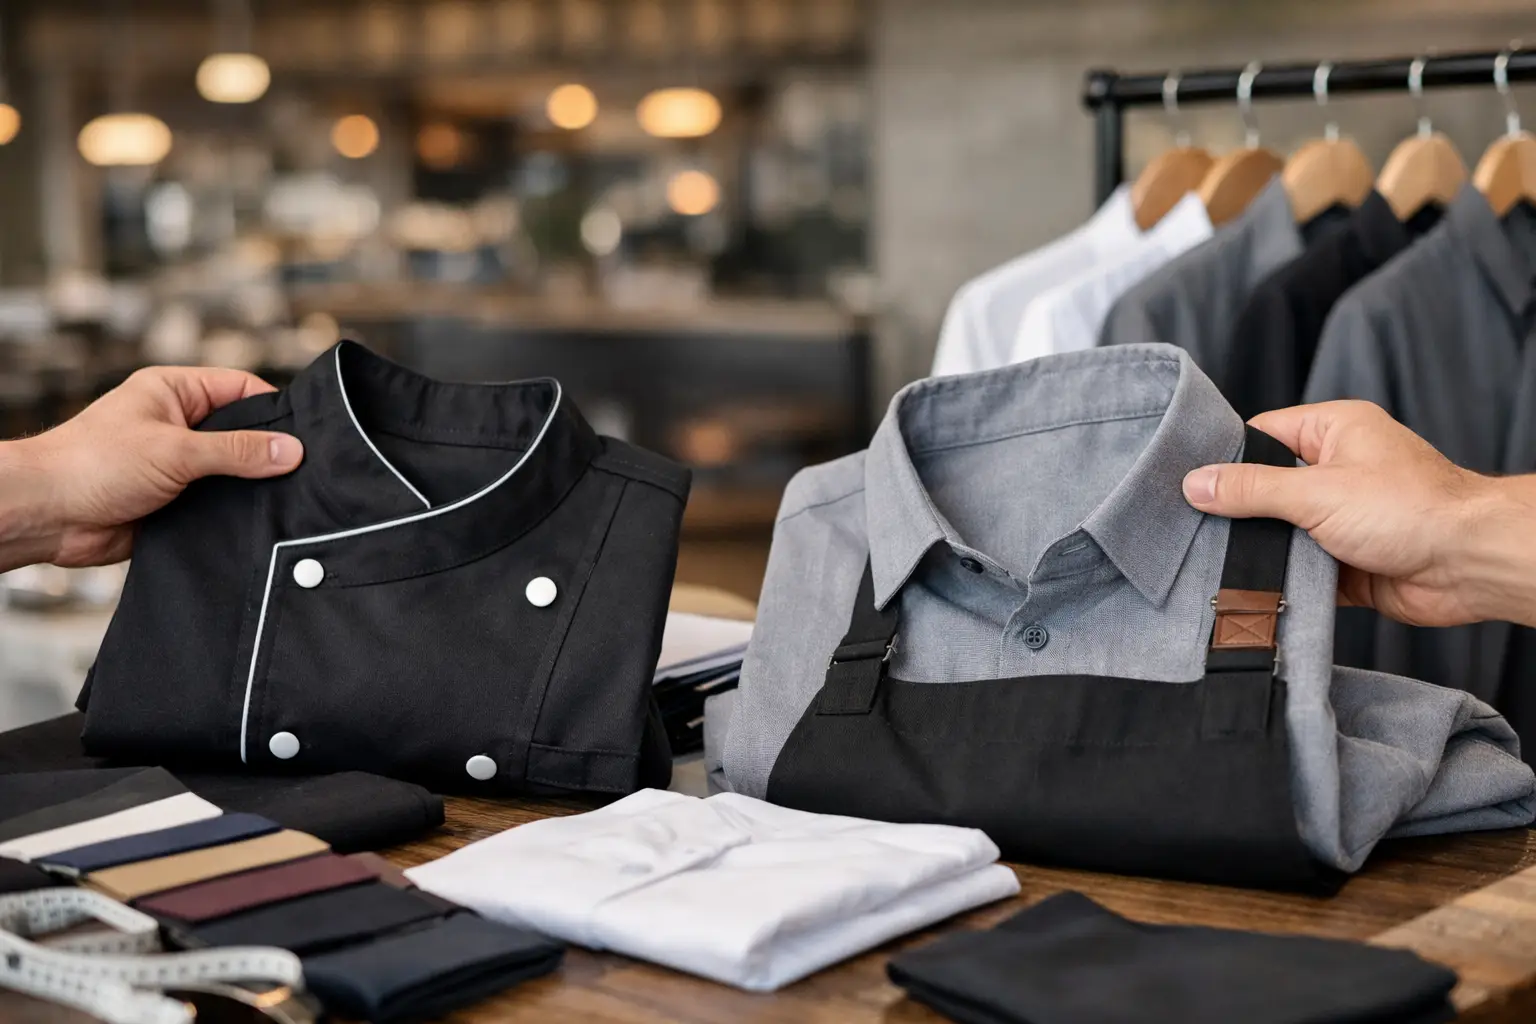
Also consider whether the uniform program needs to cover more than one role. A restaurant may need polos for managers, aprons for servers, and chef coats for kitchen staff. A school may need staff shirts, coaching apparel, spirit wear, and event jackets. Planning the full program at the beginning helps keep colors, logo placement, and overall presentation consistent.
Prepare Your Logo for Embroidery
Embroidery is created with thread, not ink. That distinction affects how fine details, small lettering, gradients, and color transitions will appear on a garment. A logo that looks sharp on a business card or website may need minor adjustments to stitch cleanly at a left-chest size.
Provide the best version of your logo available, preferably a vector file such as AI, EPS, or PDF. High-resolution PNG files can also be useful. If you only have a small web image or an older logo, a professional embroidery team can review it and advise whether artwork cleanup or recreation is needed.
Your logo will be digitized before production. Digitizing converts the artwork into stitch instructions for the embroidery equipment. It is not simply a file conversion. The digitizer determines stitch type, stitch direction, density, thread colors, and how the design will perform on the selected fabric.
This is why a proof matters. Review the spelling, thread colors, logo proportions, and placement before approving production. If the design includes a tagline, phone number, or very small text, ask whether it will remain readable at the intended size. Sometimes the best answer is to simplify the embroidered version while preserving the look and recognition of your brand.
Choose Garments That Match Your Brand and Budget
The least expensive shirt is not always the best value. A uniform that fades quickly, shrinks, pulls at the embroidered area, or feels uncomfortable can lead to complaints and early replacement costs. At the same time, not every program requires premium garments. The right choice depends on wear frequency, job demands, and the image you want to project.
When comparing options, look at fabric weight, fiber content, fit, available colors, and care requirements. Cotton blends can provide a familiar, comfortable feel. Performance fabrics are often better for active teams. Work shirts and outerwear may offer reinforced construction, stain resistance, or additional pockets. Brands also fit differently, so it is wise to consider sizing samples or fit guidance before placing a large order.
Embroidery works best on stable fabrics and structured areas of a garment. Polos, woven shirts, jackets, scrubs, hats, and fleece are popular choices. Very thin, stretchy, or delicate materials can still be embroidered, but they may require backing or special techniques to prevent puckering. A knowledgeable provider will recommend garments that support the logo rather than compromise it.
Color selection deserves the same attention. Choose garments that provide enough contrast for the thread colors in your logo. Navy embroidery on a black polo, for example, may disappear from a few feet away. If your brand colors are low-contrast, a simplified one-color or alternate logo treatment may produce a cleaner result.
Build an Accurate Size and Quantity List
Sizing is one of the most common sources of uniform-order frustration. Collect each employee’s size directly whenever possible instead of estimating from a general roster. Include garment style, color, and size for every person, especially if different departments will wear different items.
A clear order list should identify the employee or position, garment, color, size, quantity, and any personalization such as an embroidered name or title. If your team has a mix of men’s, women’s, youth, tall, or extended sizes, call that out early. Availability and pricing can vary by size range and garment style.
It is also smart to order a small number of extras for new hires, seasonal staff, or replacement needs. This is particularly helpful for restaurants, medical offices, property management teams, and service businesses with regular turnover. Keeping a few approved uniforms on hand can prevent a new employee from showing up in unbranded apparel during a busy week.
Confirm Placement and Personalization Details
Left-chest embroidery is the standard choice for polos, woven shirts, jackets, and scrubs, but it is not the only option. Hats may use front-center placement. Workwear may include a chest logo, sleeve patch, back name, or embroidered department identifier. Aprons can carry a centered logo above the pocket or near the bib.
Be specific about what should appear on each item. A company logo, employee name, job title, department, and certification can all be useful, but too much embroidery can make a uniform feel crowded. For teams that need names, decide whether first names, last names, or both should be used and establish a consistent format.
Placement also affects cost and production time. Multiple embroidered locations, individual names, and patches add steps to the order. They may be worthwhile for identification and professionalism, but they should be included in the quote from the start rather than added after approval.
Review the Quote, Proof, and Production Timeline
A complete quote should account for garments, embroidery setup or digitizing when applicable, stitch count, number of locations, personalization, and any special handling. Ask what is included so you can compare options accurately. A lower garment price may not reflect the full decoration cost, while a higher-quality garment may reduce replacement needs over time.
Before production begins, review the final proof and order details carefully. Confirm the garment colors, styles, sizes, logo thread colors, placement, spelling, and quantities. Design approvals are the point to make changes. Once garments are embroidered, corrections often require replacing the item rather than making a quick adjustment.
Allow enough time for the full process: garment sourcing, artwork preparation, digitizing, proof approval, production, quality review, and delivery or pickup. Rush orders may be possible depending on stock and production capacity, but planning ahead gives you more garment choices and fewer compromises. If uniforms are needed for a grand opening, school year, seasonal event, inspection, or new contract, start the conversation early.
At United Uniforms / Sew Shore, the goal is to make that process manageable by helping local organizations select the right apparel, prepare artwork, and keep uniform programs organized as teams grow.
Plan for Reorders Before You Need Them
A uniform program works better when reorders are easy. Keep a record of the approved garment styles, colors, logo version, thread colors, placement, and any personalization rules. This helps maintain consistency when you add a few shirts months later or outfit an entire new department.
Keep in mind that manufacturers can discontinue styles or change color names over time. If a specific item is central to your program, ask about comparable alternatives and consider ordering enough inventory for near-term needs. For larger organizations, establishing approved substitute garments can prevent delays when stock is limited.
Can we bring in our own garments for embroidery?
It depends on the item and the embroidery requirements. Customer-supplied garments can create challenges with fabric quality, damage risk, replacement availability, and embroidery performance. Confirm the policy before purchasing items elsewhere, particularly for specialty fabrics, high-value apparel, or garments that may be difficult to replace.
How many uniforms should each employee receive?
For daily-wear positions, three to five tops per employee is often a practical starting point. Teams exposed to heat, dirt, food service, healthcare environments, or frequent laundering may need more. Consider work schedules, laundry access, and whether employees need separate cold-weather layers.
What if our logo has several colors or small details?
Multi-color logos can be embroidered successfully, but the design may need to be adjusted for the size and fabric. A proof will show how the logo translates to thread and gives you the opportunity to approve a version that remains clear, professional, and recognizable.
A well-planned embroidered uniform order does more than put a logo on a shirt. It gives your people a consistent, credible appearance and gives your organization a dependable visual standard that holds up long after the first day of wear.